The plunge cut using the portable circular saw
Description
Tools/accessories
Preparation/set-up
-
Determine the position of the cut-out and mark it on the surface.

-
Next, set up the guide rail. A number of cuts of the same length are needed; therefore, this work will be carried out using the quick-action clamp and corresponding stops.
After placing the guide rail and aligning it with the scribe mark, secure the guide rail using the quick-action clamp.
-
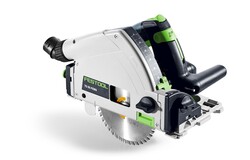
Next, place the plunge-cut saw on the rail and set the depth stop to the maximum cutting depth.

-
Move the machine so that the mark on the machine is positioned directly above the mark on the workpiece.

-
A piece of wood with a right-angled corner can be used as a guide.

-
Use the kickback stop to set the start position and to prevent the saw from deviating upwards or backwards when beginning the plunge cut. To do this, push the kickback stop onto the base plate of the saw and tighten it.

-
You can now saw forwards slowly and carefully.

-
Alternatively, another stop can be fastened at the front, following the same procedure as above. The advantage of this method is that it enables users to produce plunge cuts of equal length. The stop limits the cutting length and prevents the user sawing any further.

Procedure
-
For the plunge cut, place the portable circular saw on the rear stop. Switch on the saw and slowly lower it into the material.

-
Now saw slowly up to the second stop. When the stop is reached, carefully remove the saw from the material. Repeat this process as required.

-
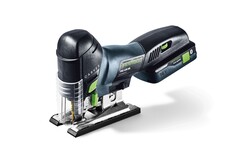
Next, saw the short sides using the jigsaw. The jigsaw is used for these cuts as the short sides are not long enough for a plunge cut using the portable circular saw. Additionally, the plunge cut must be finished at the corners using the jigsaw. This allows users to quickly achieve the perfect cut-out for the required ventilation grille.

-
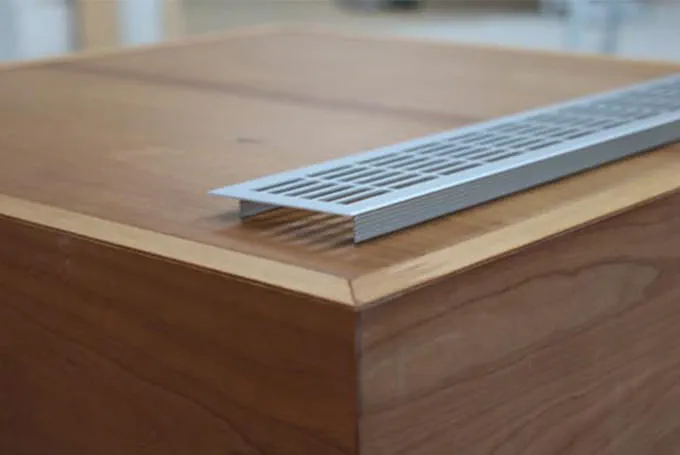
Once the plunge cut is complete, the ventilation grille is inserted. The use of Festool machines and accessories in this step ensures perfect results in no time at all.

-
Our illustrated guides and work results are documented working steps that we have performed in practice. They are individual examples and do not guarantee or promise that users will obtain the same results. The results will depend on the user's experience and skill, as well as the material being used. Illustrated guides do not replace any Festool operating manuals and/or safety instructions. Liability for ensuring that the information, instructions and applications are free from content defects and defects of title, in particular with regard to the absence of defects, correctness, freedom from third party intellectual property rights and copyrights, completeness and fitness for purpose, is excluded. Claims for damages made by the user, regardless of their legal basis, are excluded. These liability exclusions are not applicable if the damage was intentional or caused by gross negligence, or in cases of statutory liability.
We cannot accept liability for damage resulting from defects.↑


